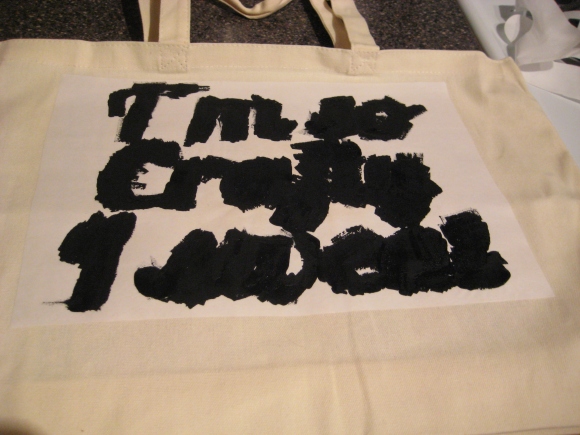
 A while ago on a craft chat-site I learned that freezer paper, the stuff in the ziplock isle, works really well for iron-on stenciling. I stenciled on so many tee-shirts and canvas bags I can’t even remember how many. It was always fun to show up to class or church with a design no one else had or would ever have. The tedious part was cutting the design – and remembering to print in mirror so the words weren’t backwards). Armed with a basic X-ACTO blade and an old piece of wood I would sit and cut for HOURS. This was so tiresome (and painful) that I haven’t picked up fabric stenciling in years.
This last Christmas I saw yet another pinterest pin and thought ‘I know someone who Neeeeeeeeeeeeds that bag!’. Lucky me I still had about half a roll of freezer paper, some paint, a sponge brush and this time I didn’t have to slave over a board with an X-ACTO pen, I have a SILHOUETTE!! What used to require hours upon hours took about 5 minutes start to finish, I really love that beautiful piece of equipment.
If all this talk of stenciling and sponge brushes and cutting up paper hasn’t led you to click away here’s the how-to for making your own cool stuff (shirts, bags, shoes, pants, flags?).
Supplies Freezer Paper Iron Foam Brush Paint of choice sure fabric paint would be a wonderful choice but come on, this is a Jessica craft, I’ll use any paint I can get my hands on. This time it was scrapbooking ink/paint, I’ve used acrylic paints (at 60 cents a pop, who wouldn’t?!) Article to paint Old magazine or newspaperMaking your stencil – You can cut your freezer paper to a size your printer will accept, and run it through – being mindful to print on the paper side NOT the shiny/slickery side. If this is your method of stencil making you’ll need to print the image in mirror – specifically if you’re using words! yup learned both those tips the hard way. Now cut, carefully of course, practicing blade safety.
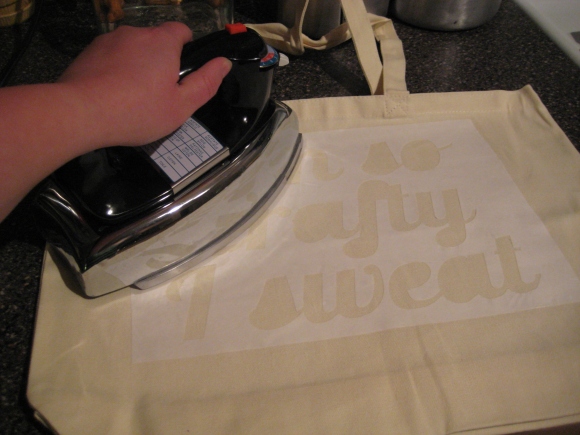
Okay. Stencil made? The hard part is over! Plug in the iron and set it to as high as your fabric or medium will allow. Now take your stencil, and slickery side down, decide where you want your image. Once it’s in place, iron over the freezer paper. I don’t know exactly the science behind whatever it is they use on that shiny side but…it works, trust me.
 Another tip from my (huge) list of ‘Lessons I’ve Learned the Hard Way‘ – put a magazine, cardboard, or newspaper between or under the item you’re stenciling (Image going on the front of a shirt? You don’t want the paint to bleed through on the BACK of your shirt.)
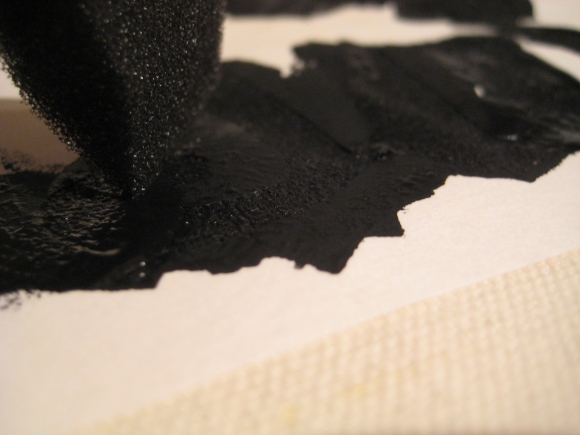 Okay, now your stencil is down and it’s time for the fun parts. PAINT! I’d like to say I’ve always been diligent in dabbing the paint on but, let’s be honest. By this point I’m just so excited to be creating that it’s REALLY hard to slowly dab/blot paint. BUT I will say that every time I did take those 2 extra minutes the project turned out much better. So blot or dab but I don’t advise brushing or rubbing the paint in. Most often it causes bleeding under the stencil edges which isn’t cool.
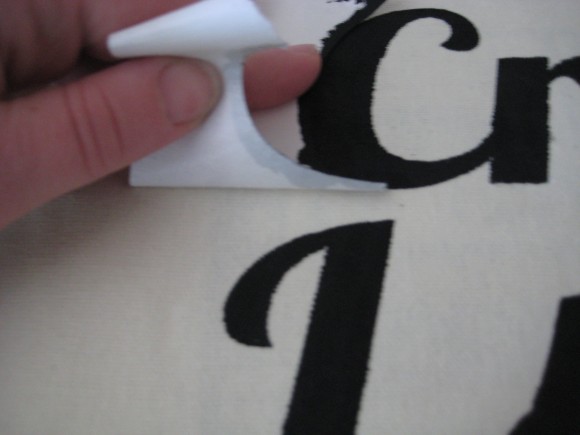 Paint done? LET IT DRY! this is the ‘torture zone’ for me. I’m too impatient and want so badly to see how it turns out that i peel the stencil up too soon. DON’T DO IT! WAIT! WAIT! WAIT! – did I emphasize that enough? The cool thing about freezer paper stencils: they peel right up. Once everything is totally dry, peel the stencil up, it’s okay to tear and rip them up because sadly they’re a one-time use kinda deal.
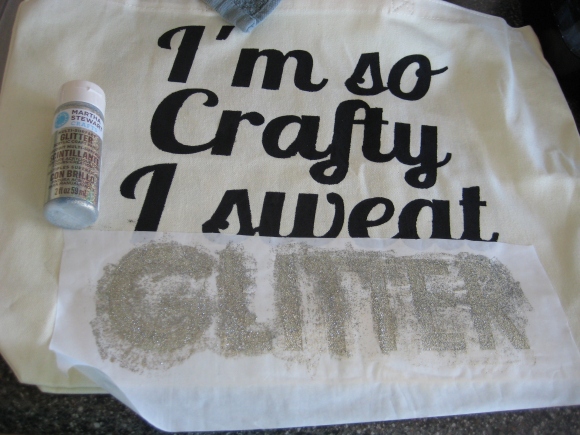 On this project I did a second stencil for the word “GLITTER”. I just repeated the above but I had to wait until the first set was dry before moving on. On a side note: I’ve had tremendous luck with Martha Stewart’s line of glitter paints. The sparkle factor is high, it dries solid and after about 3 months of abuse the glitter hasn’t come off.
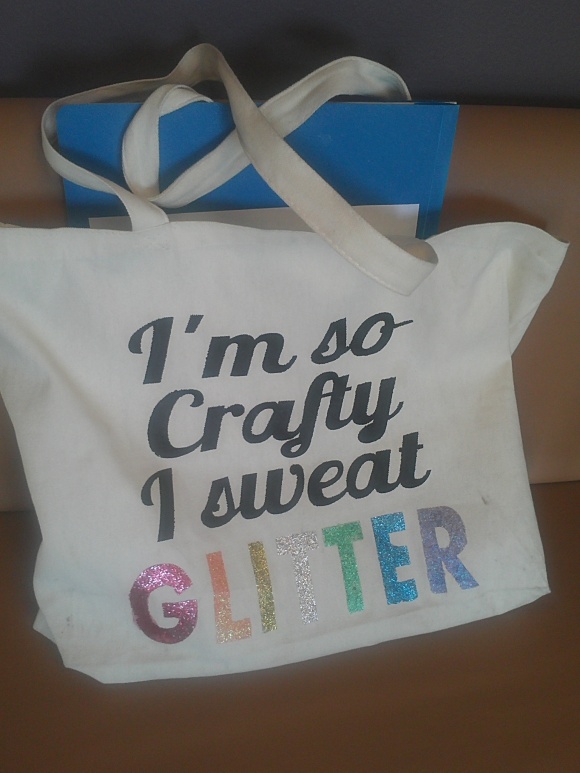
And I made one for myself…I really couldn’t help it, it was such an awesome bag…especially with RAINBOW glitters!
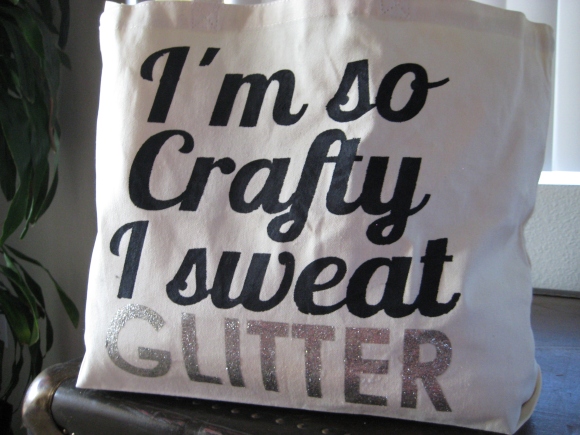
[…] the same fabric stenciling technique as I did on the “Crafty Bag” we made […]
Love love love!!!! I want one, but I don’t sweat glitter. So very cute!